This is my first ever tutorial! I had far too much fun making this and i hope you will have fun too.
The Supplies:
1 Polystyrene wreath, mine measures 18cm
Green felt, any colour of your choice
Pva glue and something to spread it
Glue gun or any type of strong glue like UHU
Various size buttons in Christmas colours (or not, up to you)
Ribbon
and some tools to cut the felt
Time: About 3 hours
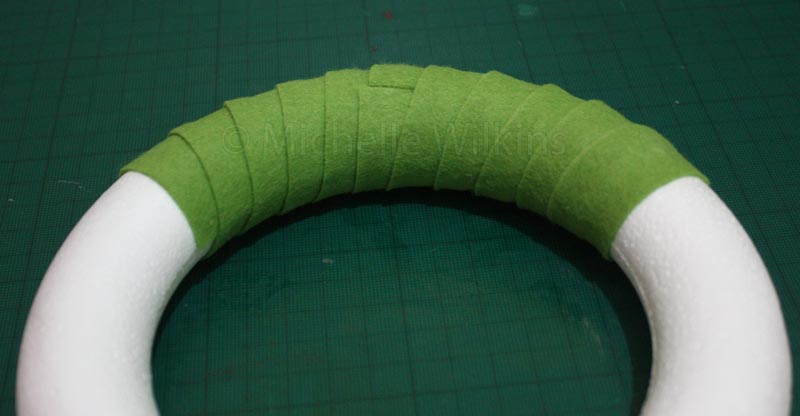
Cut your felt into strips about 2cm wide roughly, my felt here is 45cm long and i cut 7 strips and that was enough to cover my wreath.
Next pour some pva into a suitable container and then start spreading the glue down a strip of felt.
Then start wrapping your wreath, here i have already put two strips on. It doesn't matter too much about neat ends as we are going to cover it all with buttons!
Once the wreath is covered with felt its time to heat up the glue gun! Start gluing the buttons on, i put at least two blobs of glue either side of the holes. Bigger buttons i covered the whole of the back as i want them to be secure.
I organised my buttons so i could easily see all the designs and sizes and that way my wreath has a good variety of buttons.
All the buttons are now glued on, make sure to keep wiping away any glue spider web things. I have only put buttons on the front as the back won't be seen and will be a waste of buttons.
Next attach your ribbon or string and make sure to test how it hangs before you commit to gluing it on. My ribbon is quite thick so i wrapped it around the wreath once and then made a loop and glued it into place so that it will always face forward.
Yum buttons!
I hope I explained everything ok, if you have any questions don't hesitate to ask!


No comments:
Post a Comment